
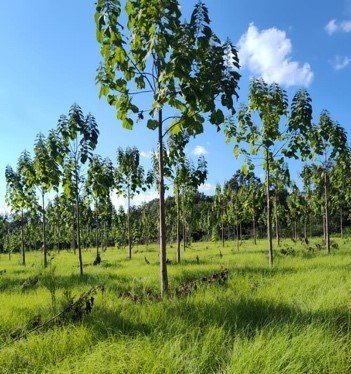
Our goal when pruning is to increase the value of your trees by producing clear, knot-free lumber. Your Paulownia trees have a natural growth habit of extending limbs out wide, demonstrating a more decurrent, “bushy” form. We want to train our trees to grow tall and straight rather than wide, giving us a higher yield of marketable timber. This process will be a delicate balance of pruning off lower limbs while leaving enough upper limbs with leaves for the tree to support itself through the rest of the year.
After coppicing, you will want to allot time to prune lower lateral limbs in the first few months. Due to the Paulownia tree's incredible rate of growth, we recommend doing monthly flushes of branch pruning each growing season within the first few years. This will help keep your trees in balance with knot-free stem wood and productive leaf area. Keeping enough productive leaf area on your trees will help you grow a strong and healthy tree with a robust diameter.
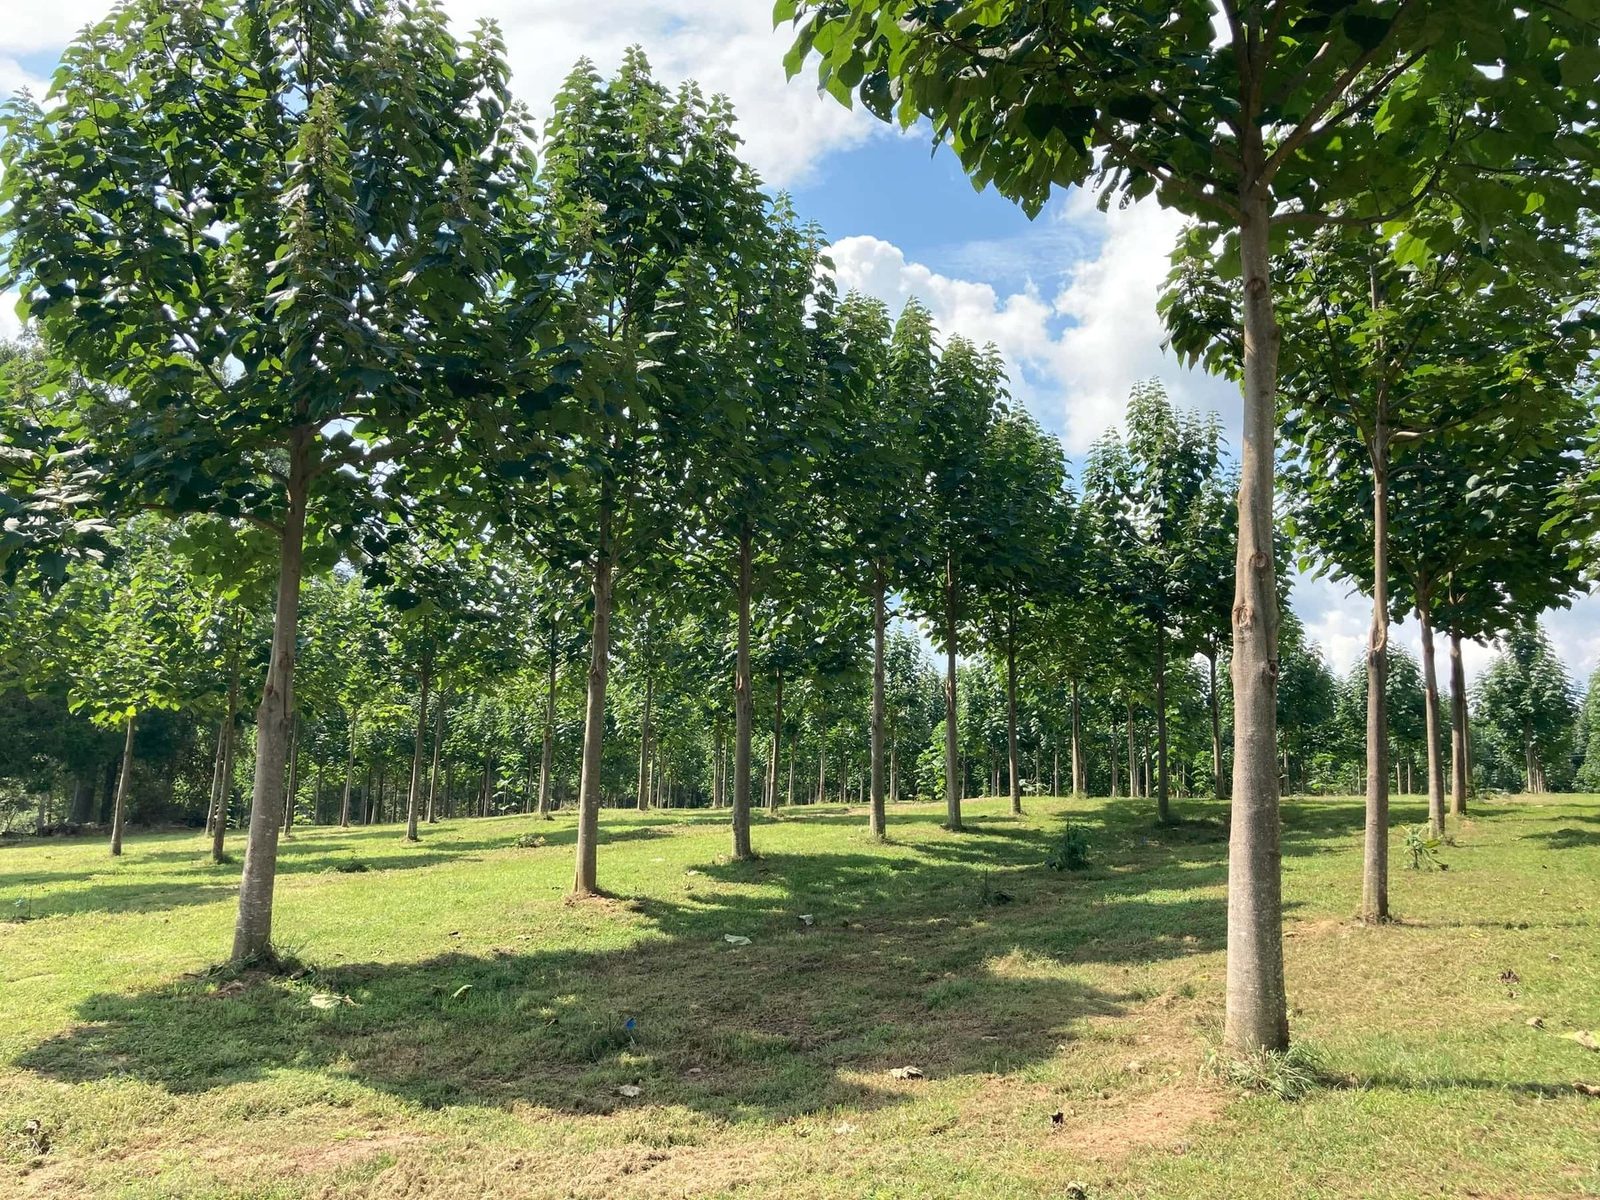
Pruning post coppice
Your newly coppiced stem will produce leaves directly from the trunk. Each leaf produces a bud directly above it that has the potential to become a woody branch. It's best to go through your trees and remove these buds before they get the chance to become a branch and create a knot. Removing the branch buds will encourage the tree to keep pushing for upward growth. The leaves growing from the stem should not be removed, as they are producing food for the growing tree. It's very easy to accidentally knock off the leaf while pruning the branches, so you'll want to be mindful of them. These leaves will fall off by themselves at the end of the season. It's recommended to do this pruning monthly, or more often if time allows, during their first year of growth.
Near the end of the growing season, it is important to leave several pairs of branches intact so the tree can continue to produce leaves and food in the following spring.
The spring following coppicing
What you do the following year will depend on the size of the tree. Individual trees will vary throughout the stand, so do not be discouraged if some trees are performing better than others. It's common for trees to be in different stages of growth.
- Small trees less than 10 feet tall (or with a significant bend in the trunk)
- Re-coppice.
- Our minimum commercial milling length is 8'6". If the existing stem is not straight or if it is less than 10 ft tall, repeating the coppice will produce a taller, straighter base log.
- Note that minor kinks are OK. However, a sweep, bend, or lean will significantly lower the quality of the lumber because we need to mill around the pith (hollow center).
- Trees greater than 10 feet tall
- Leader pruning followed by branch pruning.
- Leader pruning will add another section of straight stem with few or no side branches. This action itself is very simple, but getting the timing right in early spring is crucial for success.
Branch pruning specifics
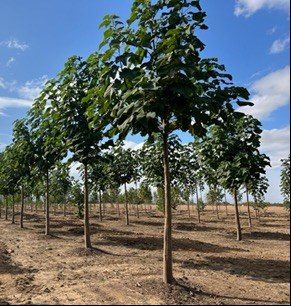
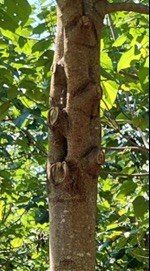
Prune the lower branches off, working your way up the tree but leaving at least 30–40% canopy in the upper part of the tree.
It's best to make these cuts while the limbs are smaller, generally less than 1 inch in diameter, to leave less of a scar on the trunk. If the branches become too large before pruning, it can form a knot, “well”, or other deformations on the trunk.
If a branch has reached a relatively large size, 2–3 inches in diameter, that does not necessarily mean that the log is wasted. It simply means that the area could be a lower grade of lumber, and the tree will have a harder time healing the large branch scar.
Making the cut
- The photos illustrate the two-step method for pruning branches with minimal harm to the tree. This method is key to preventing the bark from tearing down the trunk, which can lead to larger wounds, diseases, pests, and defects in the lumber.
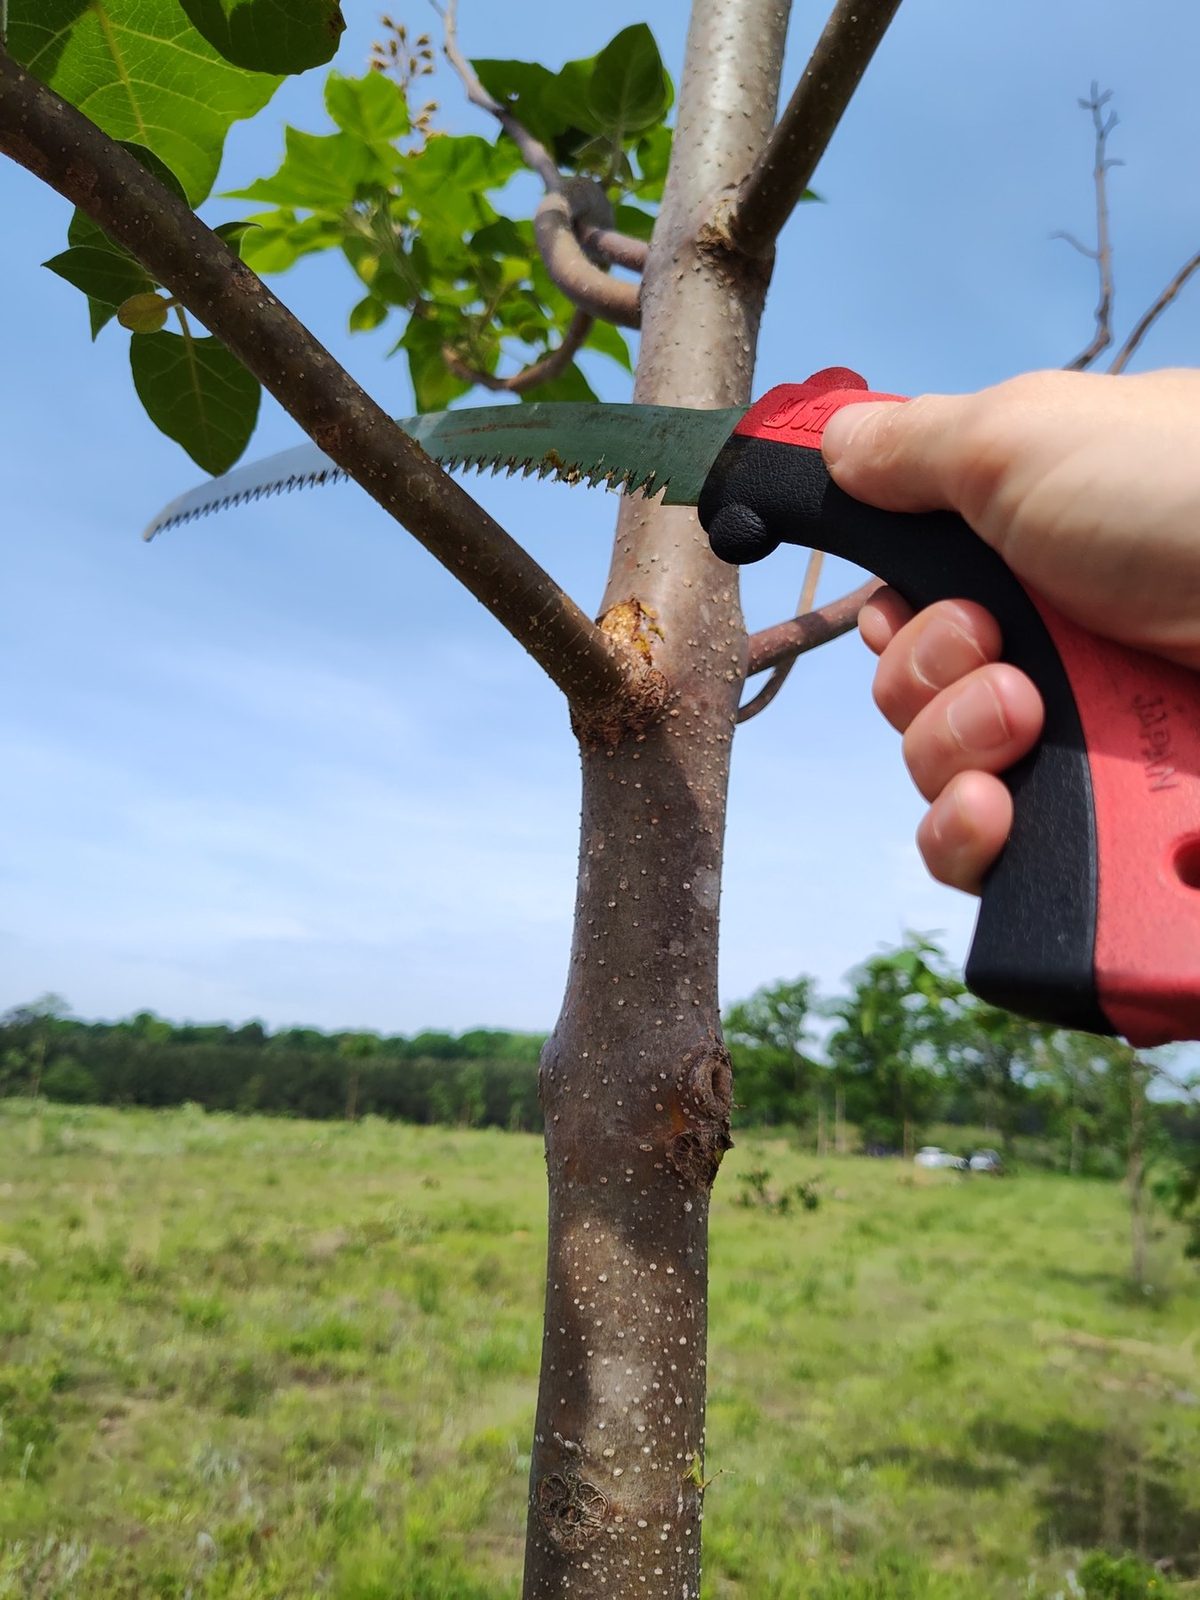
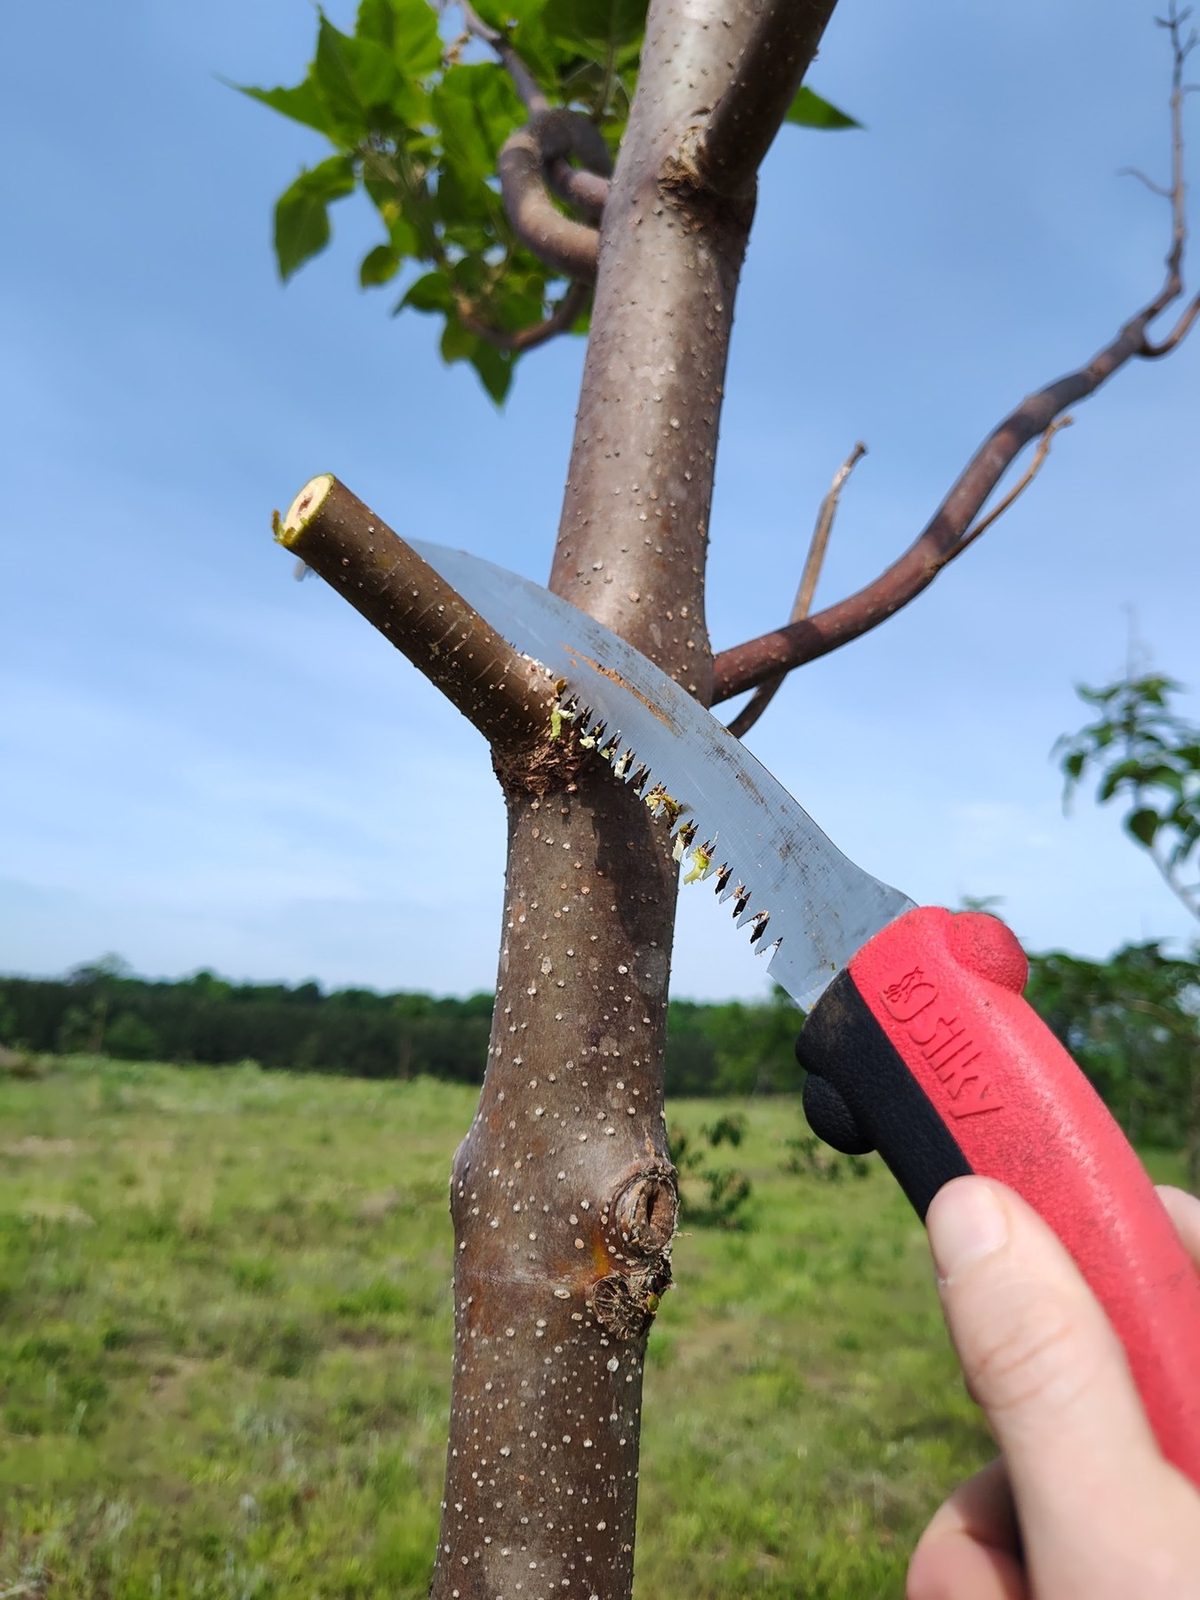
- Our aim is to make a clean, fast-healing cut. The angle of the cut, perpendicular to the branch rather than parallel to the trunk, minimizes the surface area of the wound. Preserving the branch collar, which houses cambium growth tissue, is crucial. This tissue aids in the quick closure of the wound, preventing disease.
- As the tree diameter grows outward, the bark at the edge of the pruning scar grows inward.
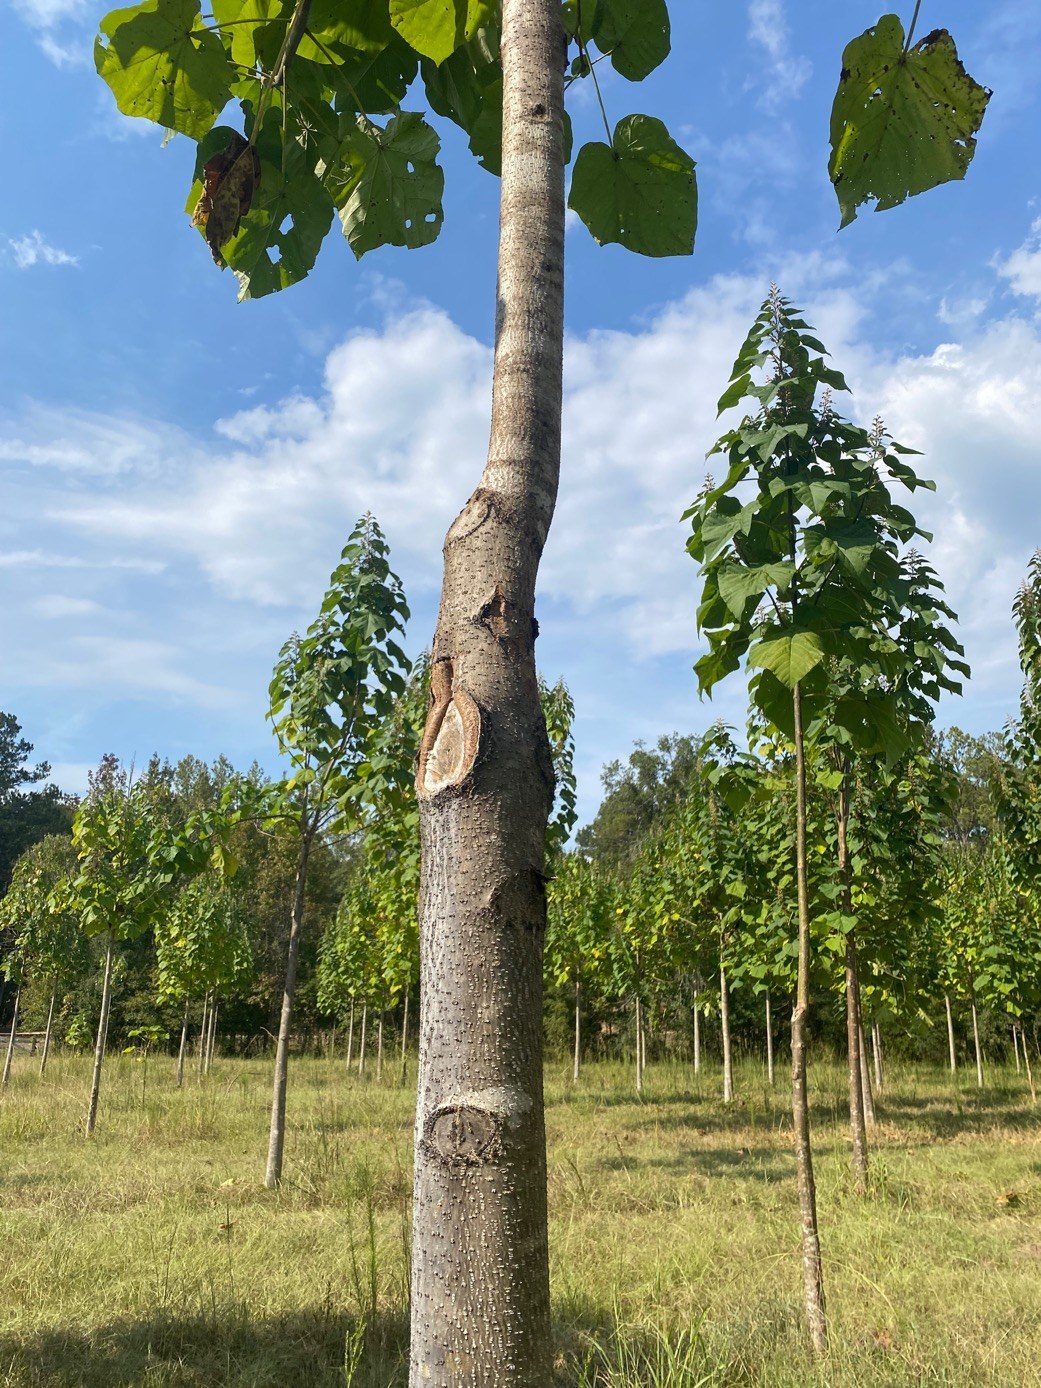
- New wood is generated under the bark, and this closes over the wound. These cuts are visible when milling lumber, so it's best to make them as early as possible to decrease their size.
- After pruning, you may see new shoots emerging above the branch scars. Rub these off with your thumb or snip with pruning shears flush to the stem while they are still green and soft (i.e. before becoming woody). These shoots also grow remarkably fast and outcompete the tree's main trunk if left unattended.
- If more than 30% of the leaf area is removed at one time, the tree's daily surplus of photosynthetically manufactured energy will be greatly reduced, leading to a negative feedback cycle of reduced root activity and/or reduced wood formation (i.e., less diameter growth). This is one reason it's beneficial to go through your trees monthly to keep up with branch pruning rather than doing it all in one go.
- Even healthy trees can have adverse effects if they are over-pruned.
Tools
The best tools to prune branches within reach are small, sharp hand pruning shears for buds and small branches and a hand-held pruning saw for larger limbs. A pole saw is recommended for branches that are out of reach. To avoid injury, we do not recommend using a hand saw while standing on a ladder.
Leader pruning
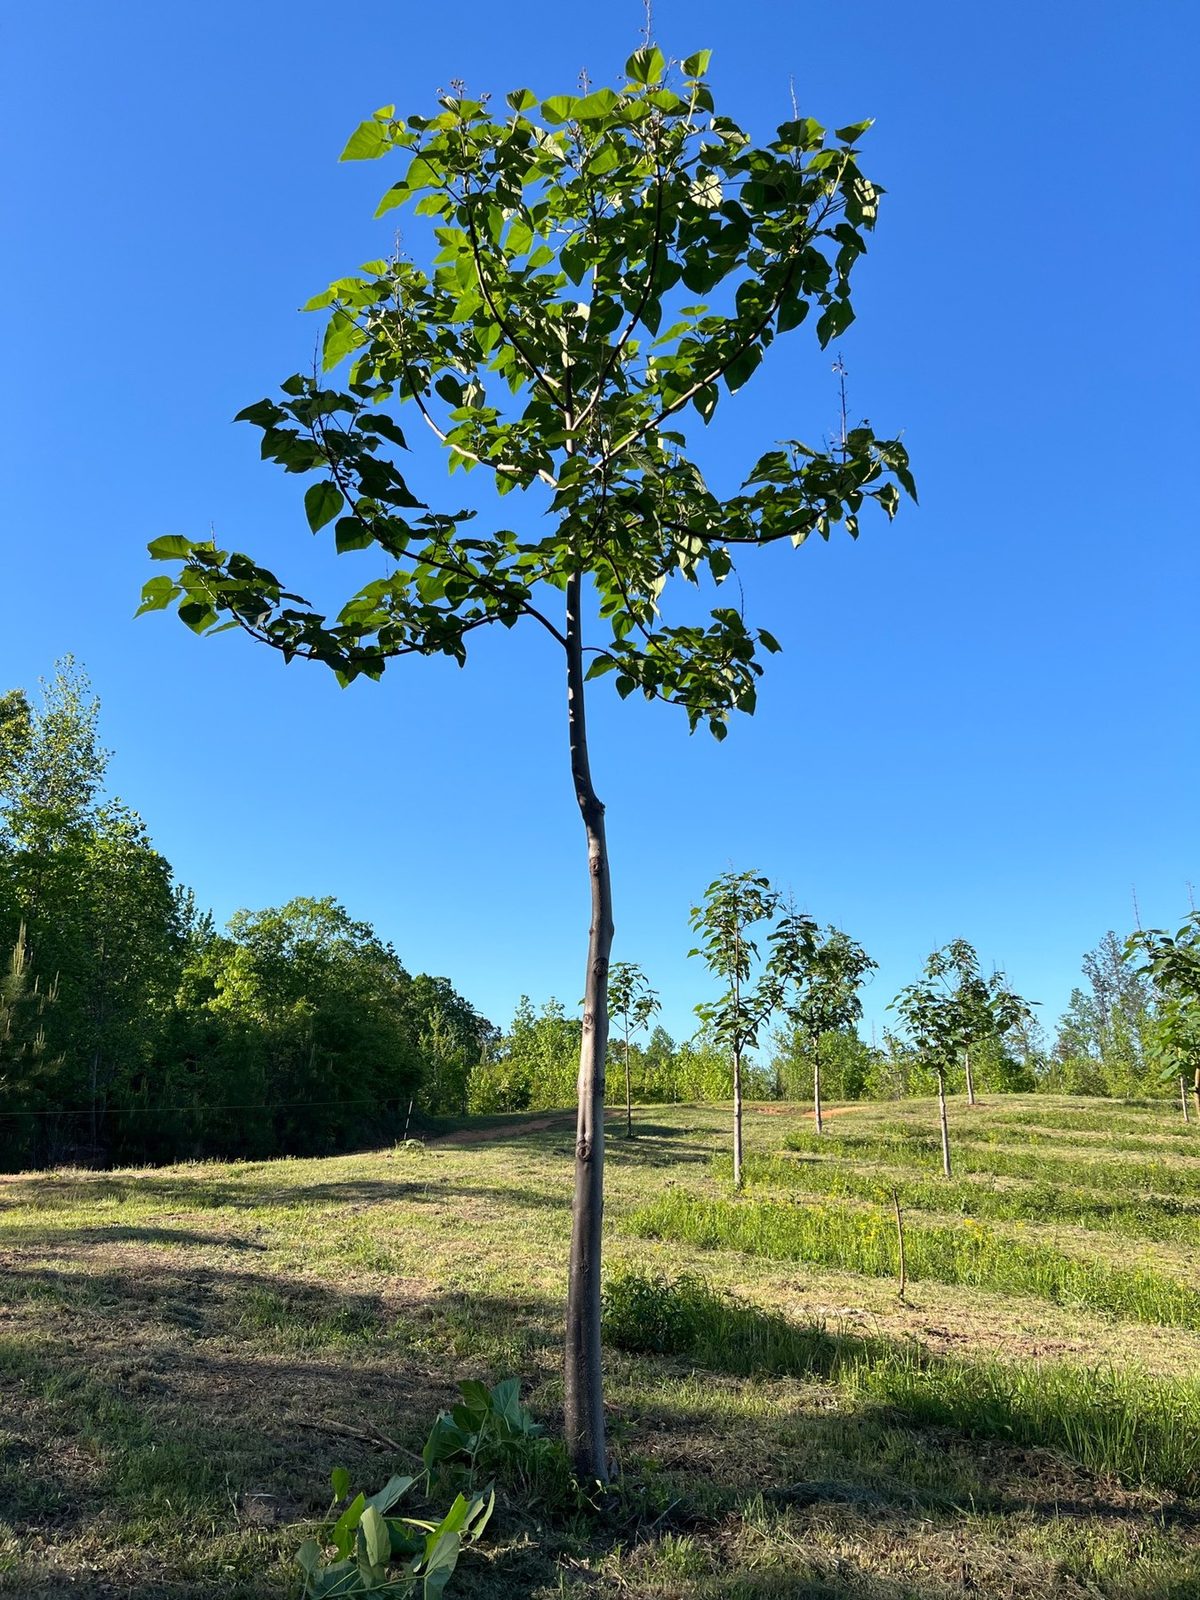
Most of the tree's value at harvest time is in the bottom 10 feet. This section should be straight and knot free. Leader pruning creates a trunk extension of straight-stem wood with few or no side branches. This will help form a secondary log for milling at harvest time. The trees must be vigorous and healthy for leader-pruning to be effective. Above 12 ft, leader pruning is more difficult to reach, and the buds will usually not have the vigor to produce a long, straight extension.
Leader pruning is highly recommended, if possible, because it adds value to your trees; however, it is not required, and extreme caution should be used when leader pruning.
Selecting the leader bud
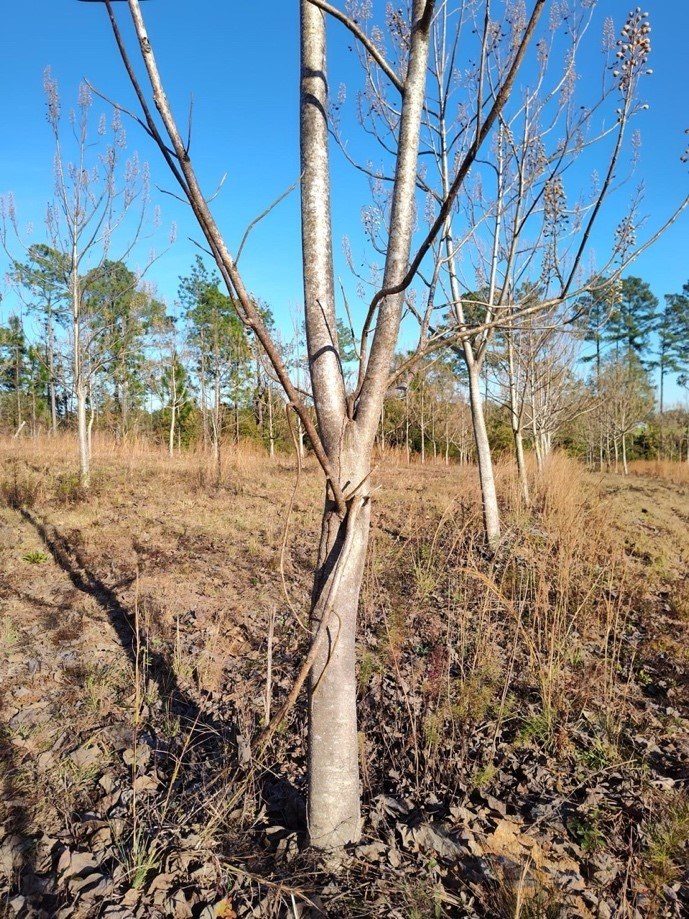
- At the start of the season, there will typically be a few inches to a foot of tip dieback; below this, you will see leafy buds that will become new branches. Because of the tip dieback, there is no longer a terminal bud, so the tree will fork at that height. We can train the tree to grow one straight stem rather than forking by selecting one of the leafy buds as the dominant leader. The unwanted buds should be removed, allowing the tree to put its energy into the chosen leader.
- The strongest and earliest buds will often not be the pair at the first node. Commonly, the second or third node down will have the strongest, earliest shooting buds.
- One of these new-season shoots can become a near-vertical leader with careful selection, timing, and the correct cutting method. The stem will always have a small kink, but if done correctly, this will hardly be noticeable at the end of the season.
- Straightness is more important than strength. The strongest bud of a pair may be facing in the direction of lean. Therefore, if the first bud is weak, the next suitable bud facing the right direction may be two nodes down.
Making the leader cuts
A hand-held, sharp, clean pair of secateurs is a suitable tool. Use bypass secateurs which have a blade on one arm and a bypass anvil on the other; don't use secateurs with blades on each side (i.e. a bolt cutter design), nor those with a central anvil as these types of tools will crush the stem or leave torn fibers behind.
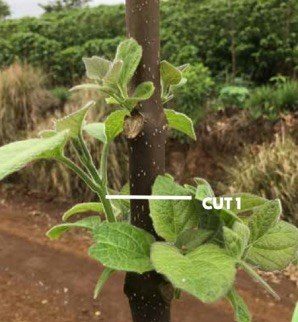
First cut
- Make a clean, straight, horizontal cut about ⅜ to ½ an inch above the node to be retained.
- After this is done, snip off the weaker bud that is on the opposite side of the chosen leader bud. This will allow less interference during the second cut.
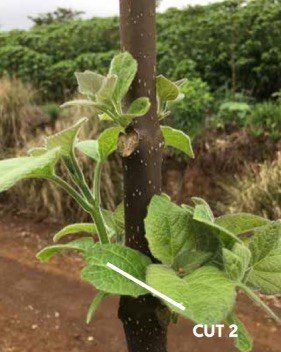
Second cut
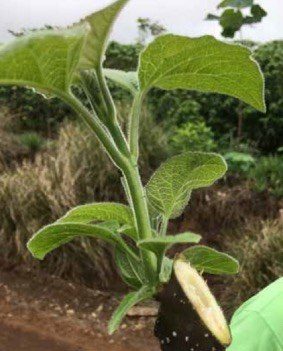
- Hold the secateurs at a 30° angle to the stem to create a diagonal cut.
- Position the secateurs so that you can cut through the leaf scar below the already removed weaker bud. This will completely remove the bud tissue below the bark and above the leaf scar, which will prevent the bud from re-sprouting and competing with the leader.
When to cut
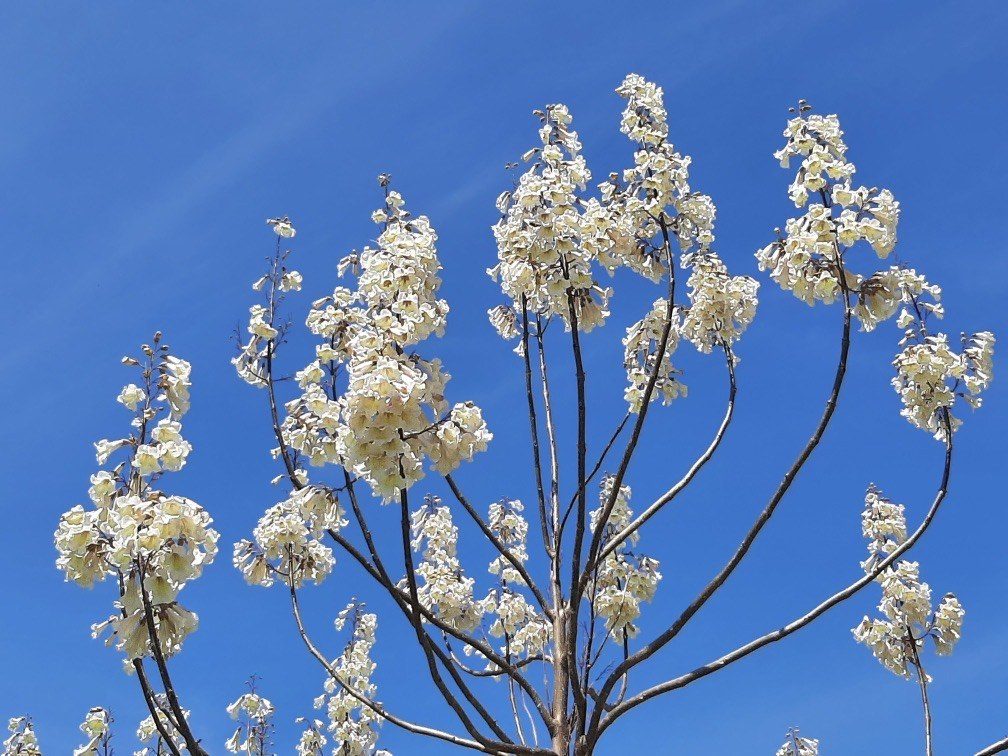
- Timing is crucial. Leader pruning must be done in early spring before the new bud shoots are more than 1" long. Usually, the first bud shoots appear a week or two after the flowers have opened and before all the flowers have fallen off. Watch carefully because the bud shoots can get too big over a matter of a few days. Once they are too big, leader pruning will still result in a single stem, but it will have a pronounced kink.
- Bud shoots will often arise on the stem's lower part before appearing on the terminal end. You may need to weaken these before leader pruning.
- If the emerging shoots on the nodes immediately below the retained leader shoot look like they're competing strongly with the leader, it may be necessary to weaken them to give time and space for the leader shoot to dominate. This decision should be made either during leader pruning or in the following few weeks.
- Once the leader is well established, allow the branches of the first 1 or 2 nodes below the leader to become fully developed lateral branches for the next year, or two, or more. They will help with overall wind stability in the plantation and add to diameter growth. Trim those branches only if they look like they are competing with the leader for light, vigor, and/or height. Retaining only those branches means that future knots will occur only on a short length (i.e. 1–2') of the upper part of the Year 1 log.